This post may contain affiliate links. Please read the full disclosure here.
Medu vada also called urad dal vada is a popular South Indian snack recipe made from skinless black lentils.
These are served with hot spicy, tangy sambar and coconut chutney.
Medu vada is also called uddina vada, garelu, uzhunnu, ulundu vadai. These medu vada turns out fluffy and crispy.
This is an easy, delicious, vegan, protein-rich snack recipe.
What is Vada?
Vada is a term given to fried snacks.
Vada’s are made from vegetables, legumes, lentils, and flours which are seasoned with spices and herbs.
Some most famous Indian vada recipes include batata vada, sabudana vada, dal vada to name a few.
What is Medu Vada?
Medu vada also known as urad dal vada is a crispy, soft, fluffy snack dish made with skinless split black gram. These are popularly called vada sambar.
This is a doughnut-shaped savoury snack recipe which is served as a breakfast dish all over India.
You will find medu vada almost in every Indian restaurant and food cart that serve breakfast.
Traditionally these vadas are served dunked in sweet, spicy, tangy sambar along with fresh coconut chutney by the side.
These urad dal vadas are super addictive and very easy to make. We often make them for our Sunday breakfast & brunch.
Unlike other vadas, these medu vada batter is shaped like doughnuts by making a hole in the centre which helps them to cook evenly.
These vadas are called by many names depending upon region to region.
In Tamil, they are called as medu vadai / ulundu vadai, in Kannada, they are called uddina vada, other names are geralu, uzhunnu to name a few.
lngredients
Urad dal (Skinned Black Gram Lentils) – We will need to make urad dal batter. For that, we will need to soak the urad dal for 6-8 hours and then blend it to a fine thick paste.
Spices & Herbs – To give these vadas extra flavour, we will add green chillies, cumin seeds, curry leaves, and ginger.
Seasoning – Salt to taste along with some asafoetida (hing).
Oil – We will need oil to deep fry these medu vadas.
Variations
You may add finely chopped onion & coconut pieces in the batter which gives a nice distinct taste & texture.
You may also skip the curry leaves, and cumin seeds in the batter and make it plain.
Serving Suggestions
These medu vadas pair best with Sambar, Rassam, and Coconut Chutney.
Storage Options
The extra batter can be stored in an air-tight container in the refrigerator. The batter stays good for a week. Thaw it before frying.
Related Recipes
Latest Recipe Post
Breakfast Recipes
Snack Recipes
Vegan – Plant-Based Recipes
No Onion No Garlic Recipe
More South Indian Snack Recipes
Jowar Idli, Green Moong Dal Dosa, Onion Rava Masala Dosa, Lemon Rice
Step-by-Step Medu Vada Recipe
How to make medu vada (urad dal vada)
- Soak urad dal overnight or for 6-7 hours.
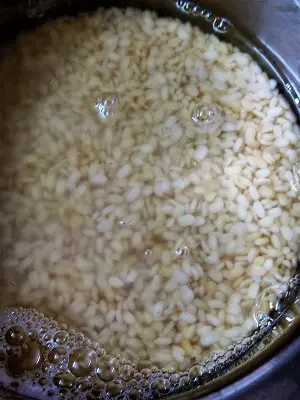
- Once soaked, drain the water and wash it with fresh water.
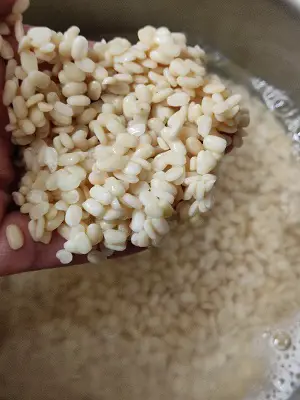
- Add the soaked urad dal to a blender.
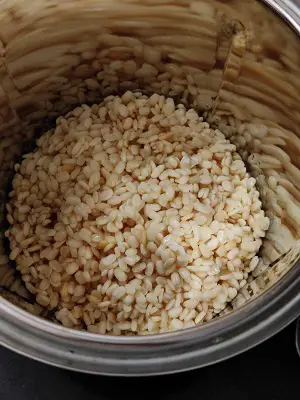
- Now add little water at a time, and blend it to a smooth paste. Blending this dal takes time, we need thick paste here, so adding water little by little we need to make a fine paste.
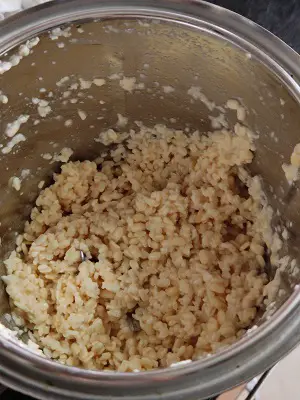
- Our Urad dal paste (black gram paste) is ready.
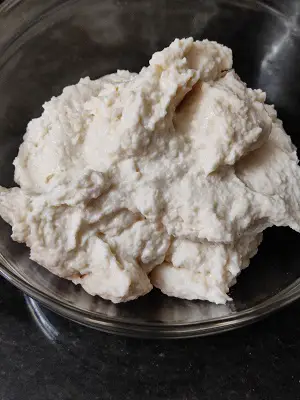
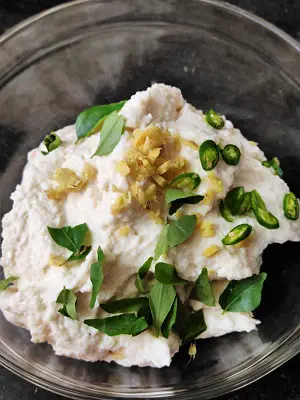
- Add roughly chopped ginger, cumin seeds, green chillies, and 6-7 curry leaves.
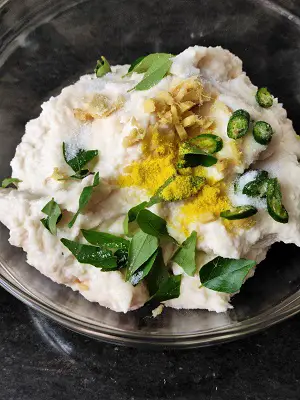
- Add salt to taste and hing (asafoetida). For gluten-free vada, skip adding hing.
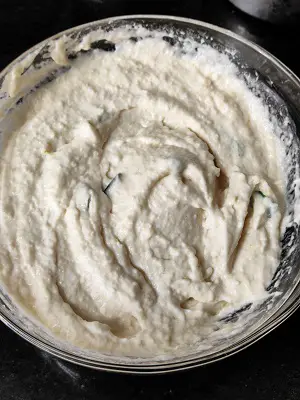
- Mix the batter well and whisk it for a couple of minutes so the batter gets nicely aerated and the vadas become light crispy and fluffy.
- Meanwhile, in a kadai heat oil for the vadas to deep fry.
- Apply water to your plam and take a ball of this urad batter. Using your thumb make a hole in the centre.
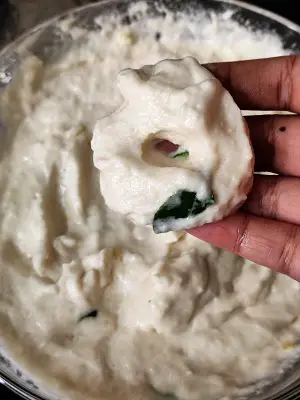
- Gently drop the vada into the hot oil. Do not overcrowd.
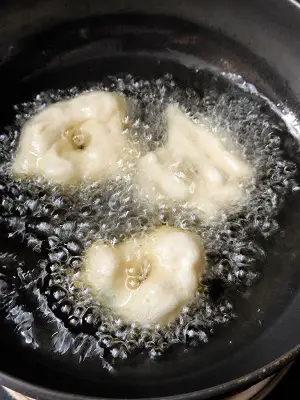
- Fry the medu vada from both sides till they are golden brown in colour. Keep the flame on medium. Fry the remaining vadas in the same manner.
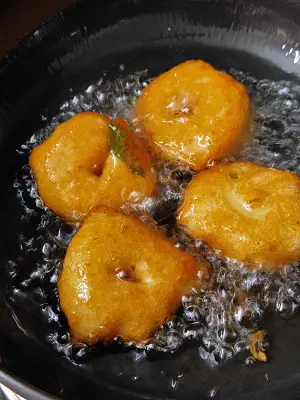
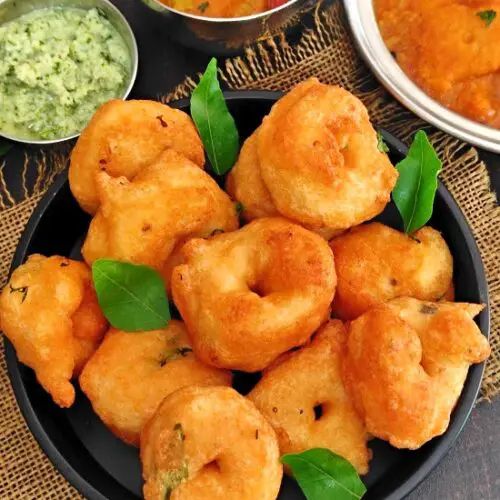
- Delicious crispy, fluffy medu vadas are ready.
- Serve with hot sambar, rasam along with coconut chutney and coffee by the side!
Join “Easy Indian Vegetarian & Vegan Recipes” on Facebook & be a part of our community.
If you like recipes like these, let’s connect on�?Youtube,�?Instagram�?&�?Facebook. Thank you for stopping by, I would really love to know your thoughts on this recipe.
Also, do check out my Lifestyle Blog eralivine.com if interested.
Recipe Card
Medu Vada Recipe | Urad Dal Vada Recipe
Ingredients�?�?
- 1 cup Urad Dal (Skinned Split Black Gram)
- 3 cups Water, for soaking the dal
- 1 teaspoon Cumin Seeds (Jeera)
- 6-8 Curry Leaves, roughly chopped
- 3-4 Green Chillies, finely chopped
- 1 teaspoon Ginger, chopped
- 1/4th teaspoon Hing (asafoetida)
- Salt to taste
- Oil, for deep frying
Instructions�?
- Soak urad dal overnight or for 6-7 hours.
- Once soaked, drain the water and wash it with fresh water.
- Add the soaked urad dal to a blender.
- Now add little water at a time, and blend it to a smooth paste. Blending this dal takes time, we need thick paste here, so adding water little by little we need to make a fine paste.
- Urad dal paste (black gram paste) is ready.
- Add roughly chopped ginger, cumin seeds, green chillies, and 6-7 curry leaves.
- Add salt to taste and hing (asafoetida). For gluten-free vada, skip adding hing.
- Mix the batter well and whisk it for a couple of minutes so the batter gets nicely aerated and the vadas become light crispy and fluffy.
- Meanwhile, in a kadai heat oil for the vadas to deep fry.
- Apply water to your plam and take a ball of this urad batter. Using your thumb make a hole in the centre.
- Gently drop the vada into the hot oil. Do not overcrowd.
- Fry the medu vada from both sides till they are golden brown in colour. Keep the flame on medium. Fry the remaining vadas in the same manner.
- Delicious crispy, fluffy medu vadas are ready. Serve with hot sambar, rasam along with coconut chutney and coffee by the side!
If you like this recipe or make this recipe do leave a comment and share the picture. I would love to see your creation.
Use the hashtag�?#thespicycafemumbai�?or�?#thespicycafeofficial�?to feature on�?Instagram�?and�?Facebook.
absolutely perfect vadas
the sambar and chutney are super
too tempting
thank you dearest Leander 🙂